上一篇文章记录了一下RN跳转原生的一些操作, 这次记录一下原生跳转 RN 页面的一些具体操作.
1.创建 rn 页面并注册
创建页面
1 |
|
在入口函数中注册组件
1 |
|
2.在原生文件中加载
具体方案
1 | • 建立一个NSObject类,让其实现RCTBridgeDelegate协议 |
新建一个继承自NSObject的类ReactRootViewManager:
1 |
|
具体实现:
1 |
|
3.创建一个 controller 加载 RN 页面
1 | //test为注册组件时定义的名称 |
4.跳转操作
预加载 RN 页面
在原生的 controller 里预加载 RN 页面
1 |
|
进行跳转
在按钮的 click 事件里进行跳转:
1 |
|
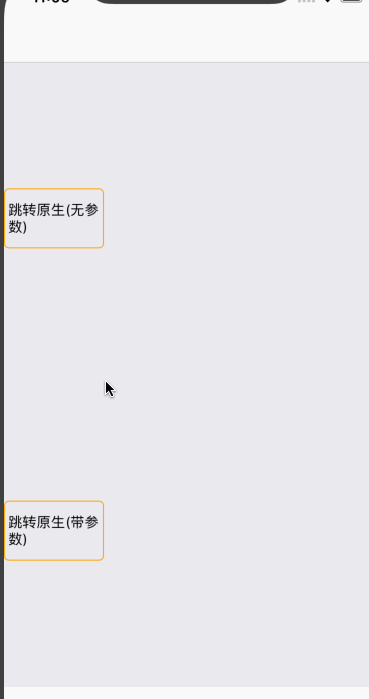
效果: